How to Grow a Cut Flower Garden for Arrangements
Growing your own cut flower garden is like having a little slice of paradise right in your backyard. Imagine stepping out into the fresh morning air, snipping a few stems here and there, and crafting a stunning arrangement that brings a bit of nature inside. It's not only incredibly satisfying but also eco-friendly and cost-effective. Whether you're a seasoned green thumb or just starting out, this guide will walk you through everything you need to know about how to grow a cut flower garden for arrangements. So, let's get our hands dirty!
Why Grow a Cut Flower Garden?
First things first, why bother growing your own cut flowers? Well, aside from the sheer joy of it, there are plenty of practical reasons. Fresh-cut flowers from your garden last longer than store-bought ones because you can pick them at their peak. Plus, you'll have a constant supply of unique blooms tailored to your taste.
Growing your own cut flower garden also supports local ecosystems and reduces your carbon footprint. No more driving to the florist or buying imported flowers flown in from overseas! And let's not forget the therapeutic benefits of gardening. It's been proven to reduce stress and improve mental well-being. So, you're essentially growing happiness with every bloom.
Planning Your Cut Flower Garden
Before you dive in, a bit of planning goes a long way. Here are some steps for creating your beginner cut flower garden layout:
Choosing the Right Location
- Sunlight: Most cut flowers thrive in full sun, so pick a spot that gets at least 6-8 hours of sunlight daily. If you're not sure about the light, try planting a few sun-loving plants and see how they do.
- Soil: Well-drained soil is crucial. If your soil is heavy clay or sandy, consider raising beds or planting in pots. A little bit of compost can work wonders too!
Deciding on Your Garden Size
Start small if you're new to this. A 4x4 meter plot is manageable and will give you a good variety of flowers. As you gain confidence, you can expand. Remember, it's better to have a small, well-cared-for garden than a large, overwhelming one. I started with just a few pots on my balcony, and now look at me!
Designing Your Garden
- Succession Planting: To ensure a continuous supply of blooms, plant flowers with different bloom times.
- Early spring: Sweet peas, poppies
- Late spring: Snapdragons, sweet williams
- Summer: Dahlias, zinnias, sunflowers
- Autumn: Asters, chrysanthemums
- Height and Color: Plan for a mix of heights and colors. Taller flowers like delphiniums or hollyhocks can provide backdrops, while shorter ones like marigolds add foreground interest.
- Fragrance and Texture: Don't forget to include fragrant varieties (like roses or honeysuckle) and interesting textures (like lamb's ear or feather grass). A little variety goes a long way in making your garden feel alive.
How to Grow a Cut Flower Garden from Seed
Growing flowers from seed is cost-effective and rewarding. Here’s how you can do it:
When to Sow Seeds
Most cut flower seeds should be sown indoors 6-8 weeks before the last frost date in your area. You can find this information online or consult a local nursery. I once started my seeds too early and ended up with leggy, weak plants. Timing is key!
Sowing Techniques
1. Direct Sowing: Some hardy annuals and perennials can be sown directly into the garden, such as calendulas and poppies.
2. Indoor Sowing: For tender plants like dahlias and zinnias, start seeds indoors in trays or pots. It's a bit of extra work, but totally worth it when you see those first sprouts poking through.
Caring for Seedlings
- Light: Place your seed trays in a sunny spot or under grow lights. I use a simple DIY setup with LED grow lights and a timer.
- Water: Keep the soil consistently moist but not waterlogged. Overwatering can be just as bad as underwatering!
- Temperature: Maintain a temperature between 18-24°C (65-75°F) for optimal germination. A warm windowsill or a heated propagator works great.
Cut Flower Garden Layout Template
If you're looking for a structured approach, here's a simple cut flower garden layout template to get you started:
4x4 Meter Garden Plan
| Row 1 | Row 2 | Row 3 | Row 4 |
|---|---|---|---|
| Sweet Peas | Dahlias | Zinnias | Cosmos |
| Poppies | Sunflowers | Snapdragons | Marigolds |
Key Points
- Spacing: Follow the seed packet instructions for spacing. Overcrowding can lead to disease and poor growth. It's tempting to plant everything close together, but trust me, your plants will thank you later.
- Rotation: Rotate your planting areas annually to prevent soil depletion and pest build-up. This is a bit like giving your garden a rest and a refresh.
Planting a Cut Flower Garden in Pots
Don’t have a backyard? No problem! You can still grow a cut flower garden in pots. Here’s how:
Choosing the Right Pots
- Size: Opt for pots at least 30cm (12 inches) in diameter and depth. Bigger is often better, but make sure you can still manage them.
- Material: Terracotta, plastic, or fabric pots all work well. Each has its own pros and cons, so choose what fits your style and needs.
Best Flowers for Cut Flower Garden in Pots
- Annuals: Marigolds, nasturtiums, zinnias
- Perennials: Dahlias, coneflowers, coreopsis
Caring for Potted Plants
- Watering: Pots dry out faster than garden beds, so check them daily. I use a moisture meter to take the guesswork out of it.
- Fertilizing: Use a balanced liquid fertilizer every 2-4 weeks. A little goes a long way, especially in pots.
Maintaining Your Cut Flower Garden
Once your garden is planted, regular maintenance will keep it thriving:
Watering
Deep water once or twice a week, depending on rainfall and soil type. Aim for about 2.5cm (1 inch) of water per week. I like to use a soaker hose to ensure the roots get a good drink.
Feeding
- Apply a balanced fertilizer every 4-6 weeks.
- Compost tea is an excellent organic option. It's easy to make and adds a nice boost without harsh chemicals.
Deadheading
Remove spent flowers to encourage more blooms and prevent seed formation, which can exhaust the plant. I find deadheading therapeutic—it’s like giving your garden a little haircut.
Pest and Disease Management
- Inspect Regularly: Check for pests like aphids or diseases like powdery mildew. Early detection is key!
- Organic Solutions: Use neem oil or insecticidal soap for pests. For diseases, ensure good air circulation and avoid overhead watering. A little prevention goes a long way.
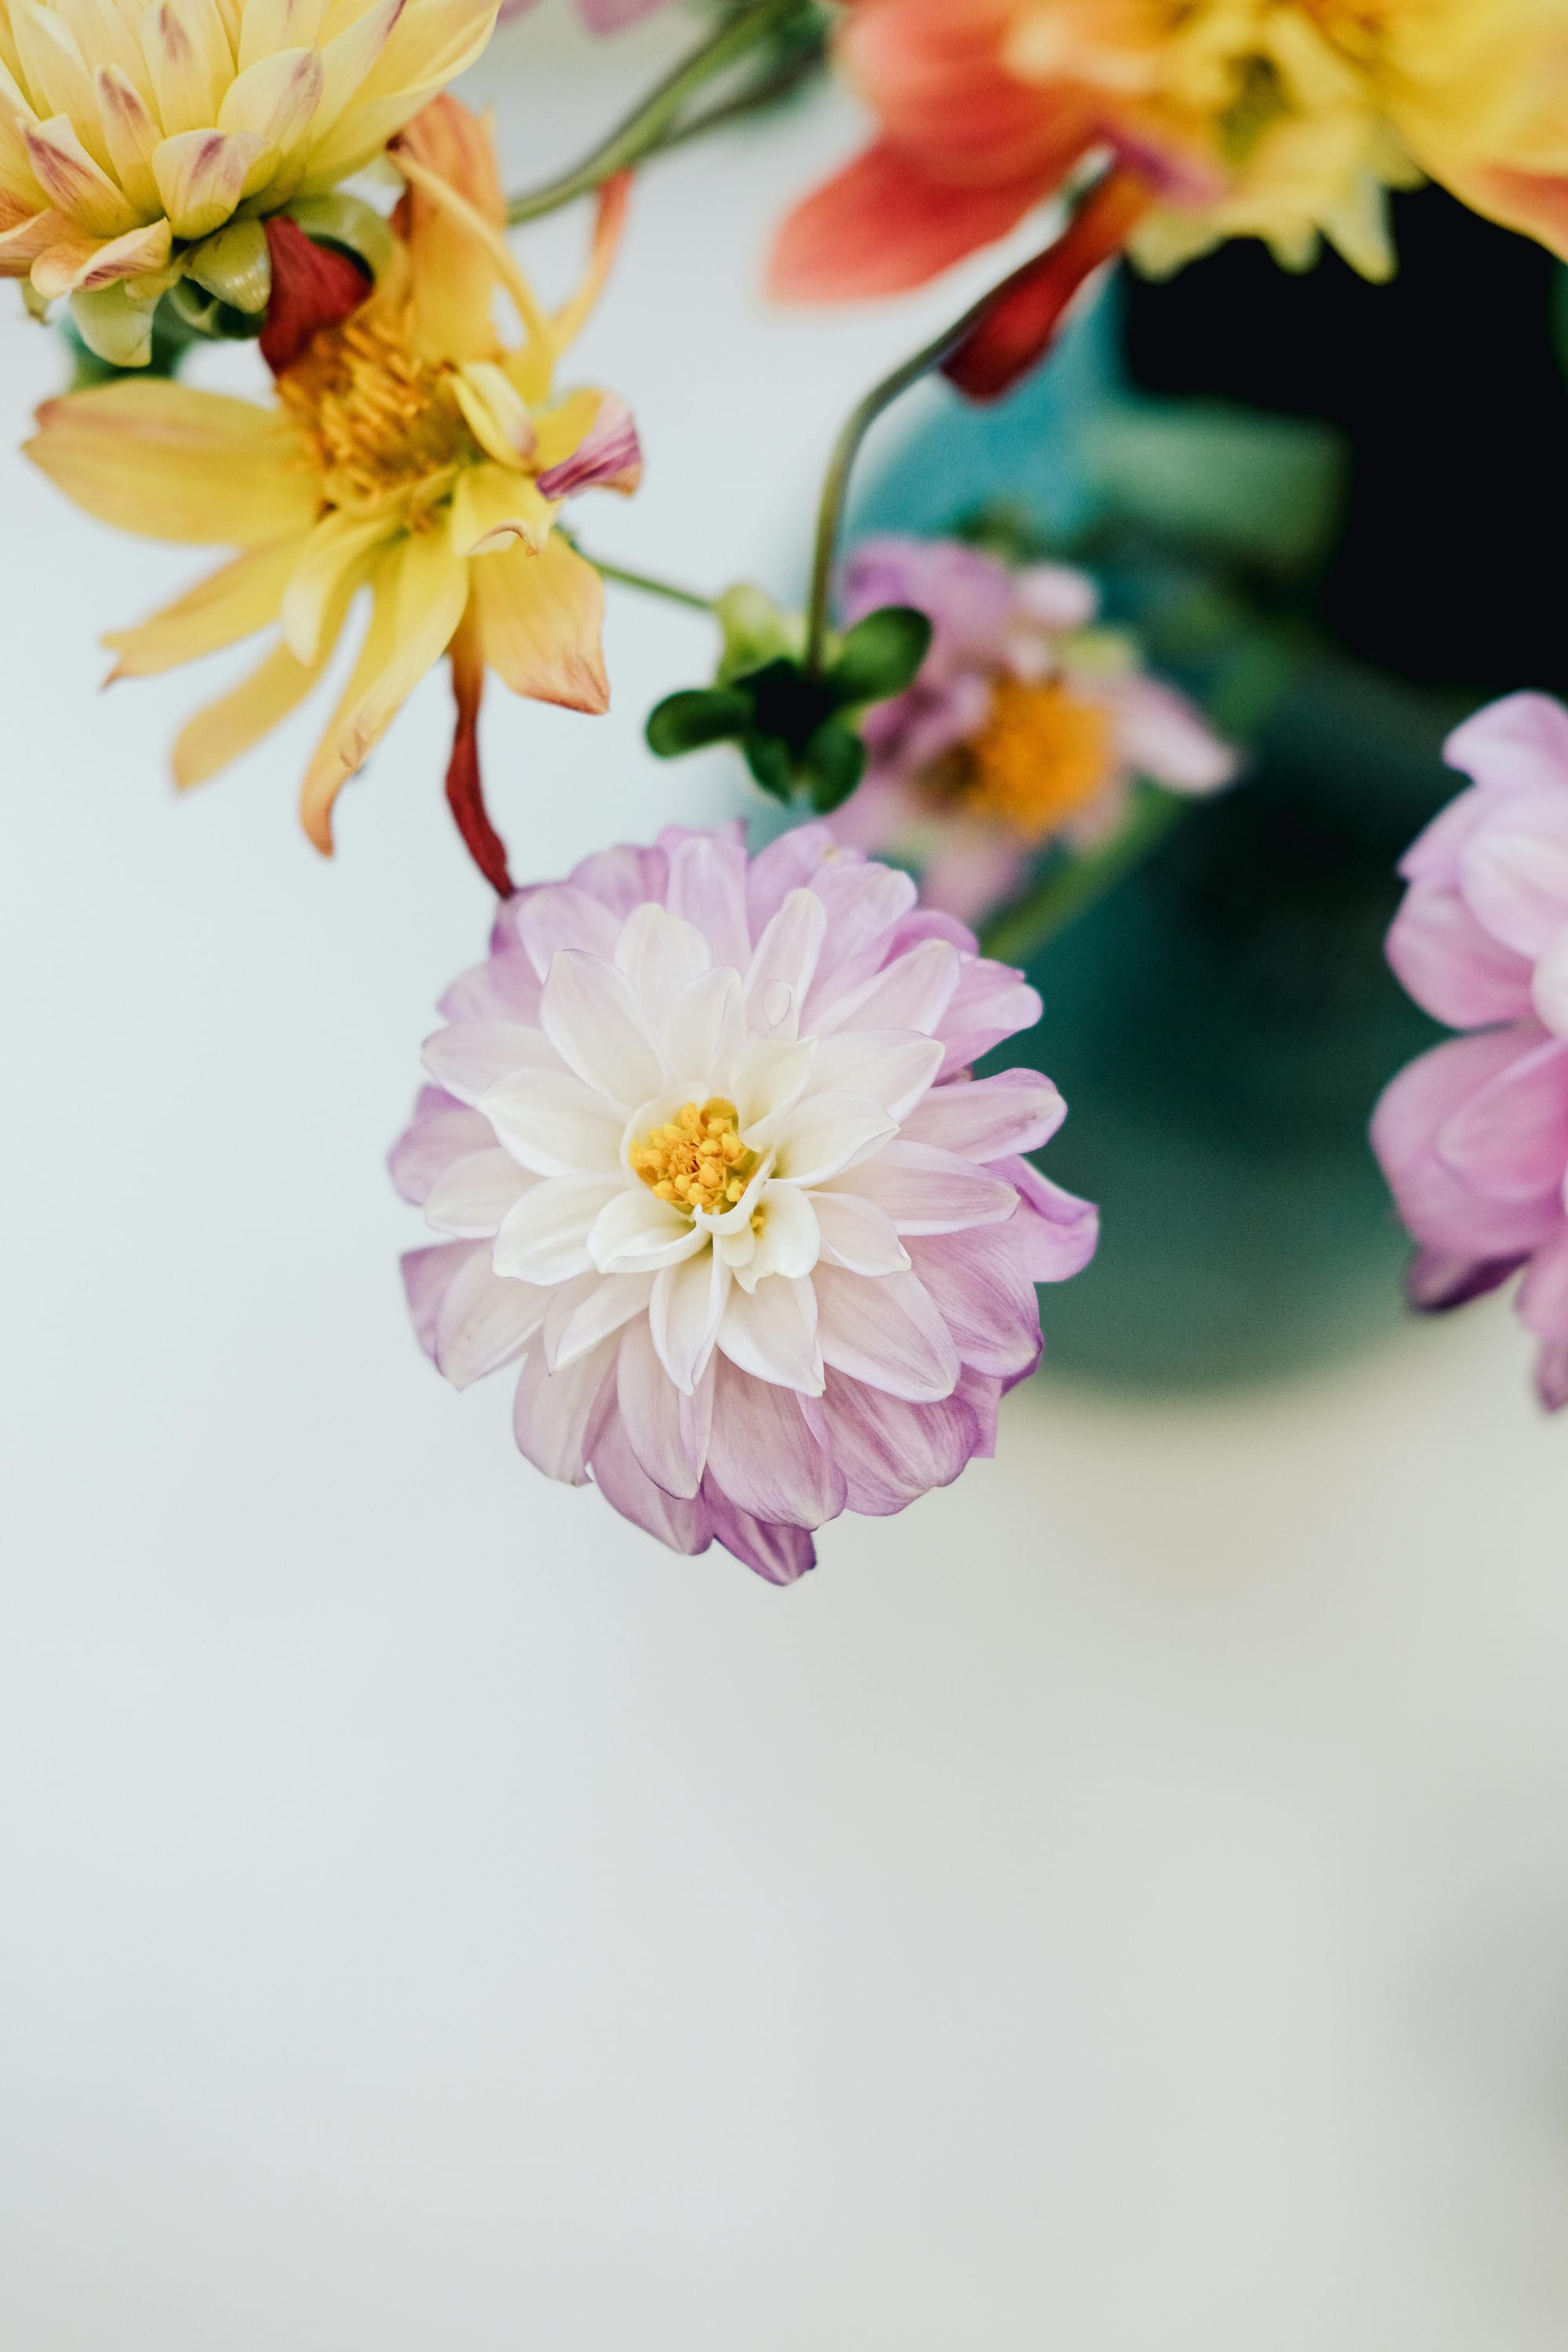
Harvesting and Arranging Your Blooms
The best part of growing a cut flower garden is harvesting and arranging your blooms. Here are some tips:
When to Cut Flowers
- Early Morning: Cut flowers in the early morning when they're fully hydrated. It’s a peaceful way to start the day.
- Peak Bloom: Harvest flowers just as they start to open for maximum vase life. Patience is key, but it pays off!
Conditioning Your Blooms
1. Trim Stems: Cut stems at a 45-degree angle under water to prevent air bubbles from forming. This helps the flowers drink up more water.
2. Hydrate: Place in warm water (38°C/100°F) for several hours before arranging. Think of it as giving your blooms a little spa day.
Conclusion
Growing your own cut flower garden is an incredibly rewarding experience. From choosing the right location to harvesting and arranging your blooms, every step brings you closer to a beautiful, sustainable, and personalized floral oasis. If you’re ready to dive in, grab our free [How to Grow a Cut Flower Garden for Arrangements PDF](https://www.youtube.com/watch?v=dQw4w9WgXcQ) guide or watch our comprehensive YouTube video for step-by-step instructions.
So, what are you waiting for? Let's get your hands dirty and start growing your own happiness today!
Related: Transform Your Garden with Bold Stripes – Goodbye Grey Rattan | Madison Square Garden Gets Its Next Villain: CJ McCollum’s Rough Night | Shoppers race to buy 'beautiful' garden solar lamp posts now cheaper than Amazon | Why I Started Garden Haven Blog
Enjoyed this? Enter your email for a weekly digest from Gardenhaven Blog.
Read more across our network:
• NDIS Cuts: Minister Butler's Claims Examined
• Cook for One Without Wasting Food: Tips & Tricks